Category: Balancing Poses

EAGLE POSE

Benefits:

For your body:

  • Assists your lymphatic system
  • Strengthens stabilizer muscles in your joints

For your mind:

  • Clear your mind to learn how to diverge your eyes
  • Encourages your equilibrium
  • Focus on breathing to remain centered.

For your spirit:

  • Tests your determination
  • When you can’t see in front of you, what will you focus on

(DISCLAIMER: DO THESE POSES TO YOUR ABILITY; YOU ARE RESPONSIBLE FOR YOUR OWN BODY AND WHAT YOU DO. BE SAFE, AND YOU CAN BE SUCCESSFUL.)

Modifications:

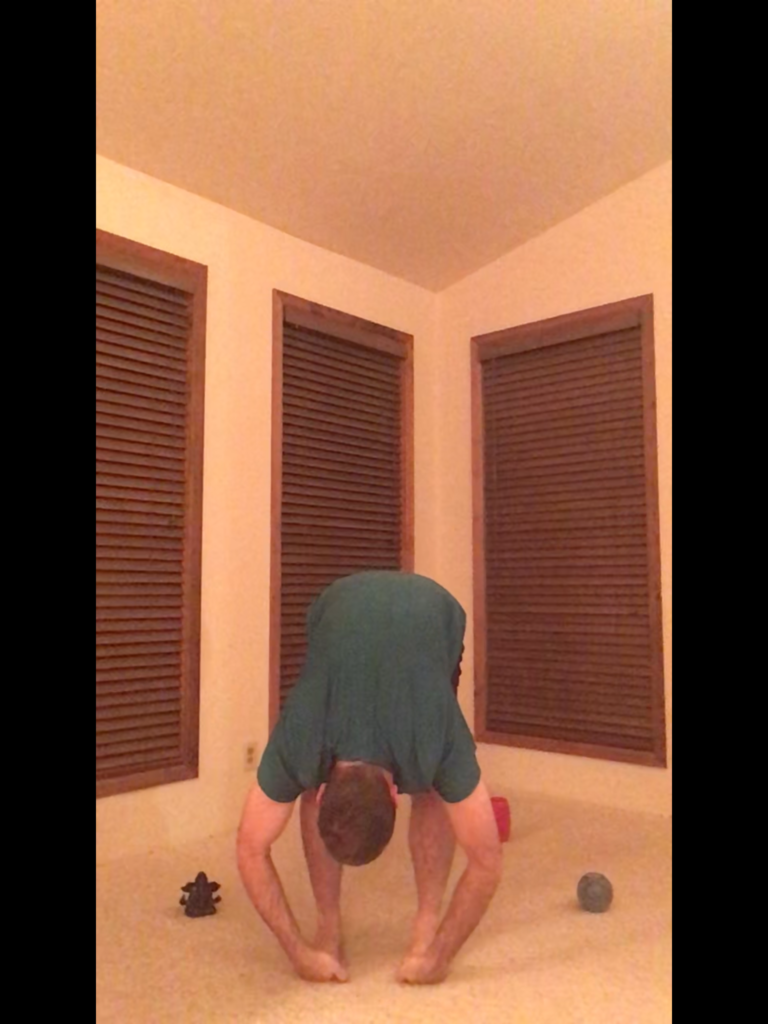
  • Place a block under your foot to “kickstand” your body to help you balance on one leg.
  • Sit in a chair and do the posture.
  • Hug your shoulders if you are tight in your upper body.
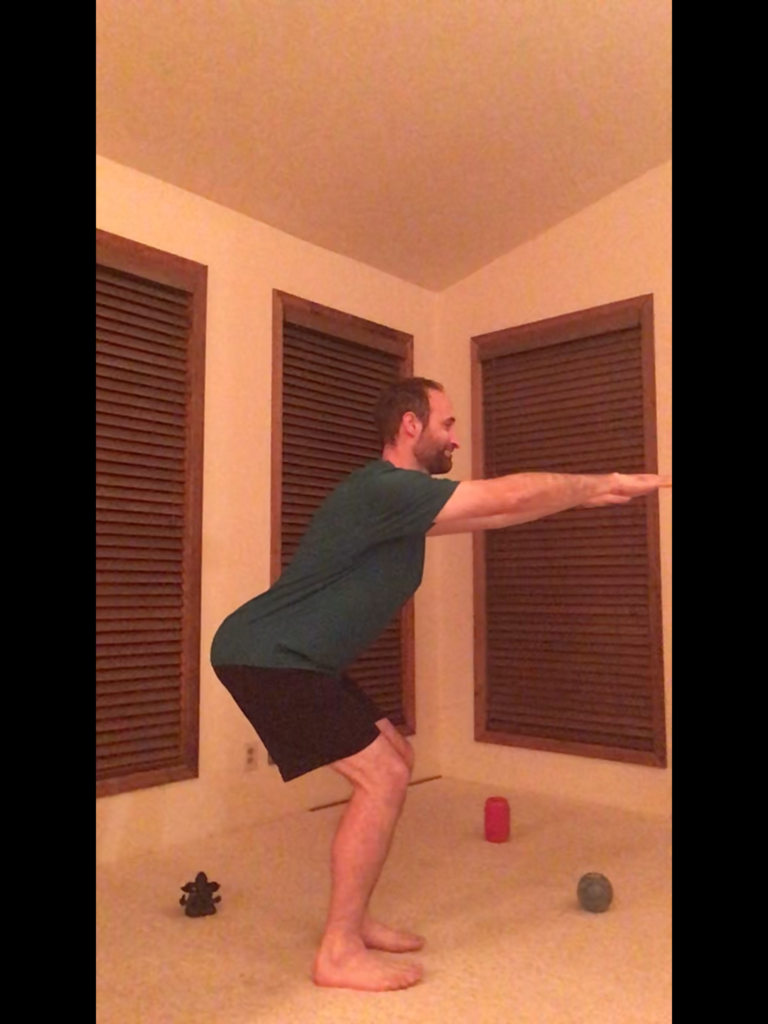
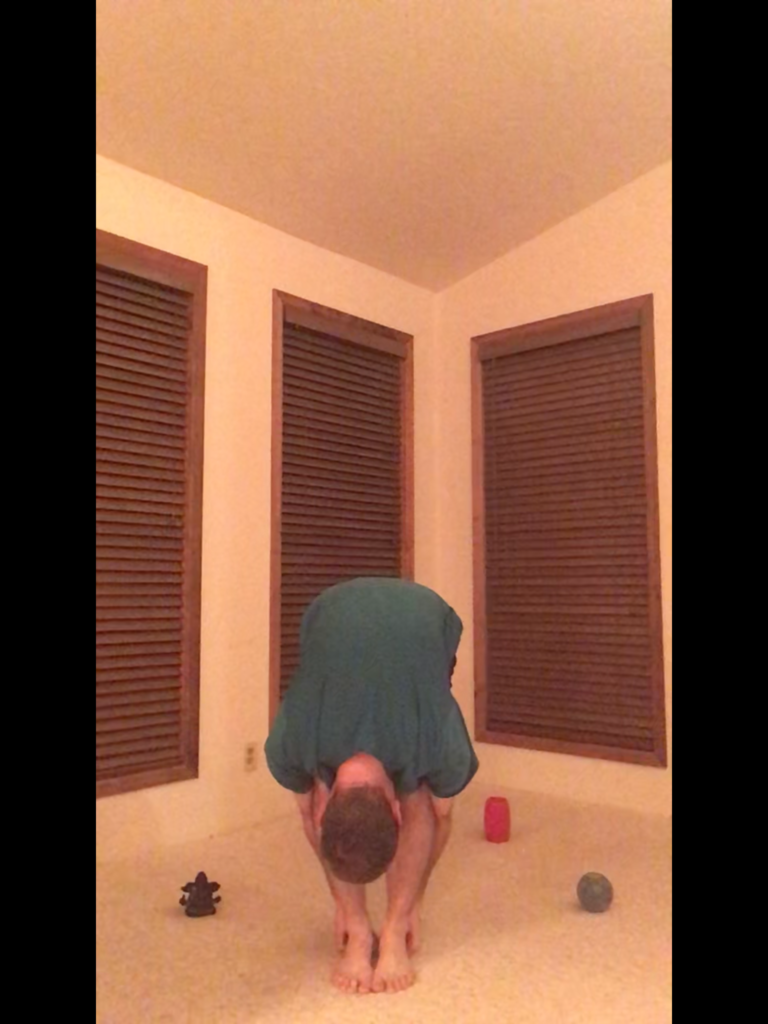
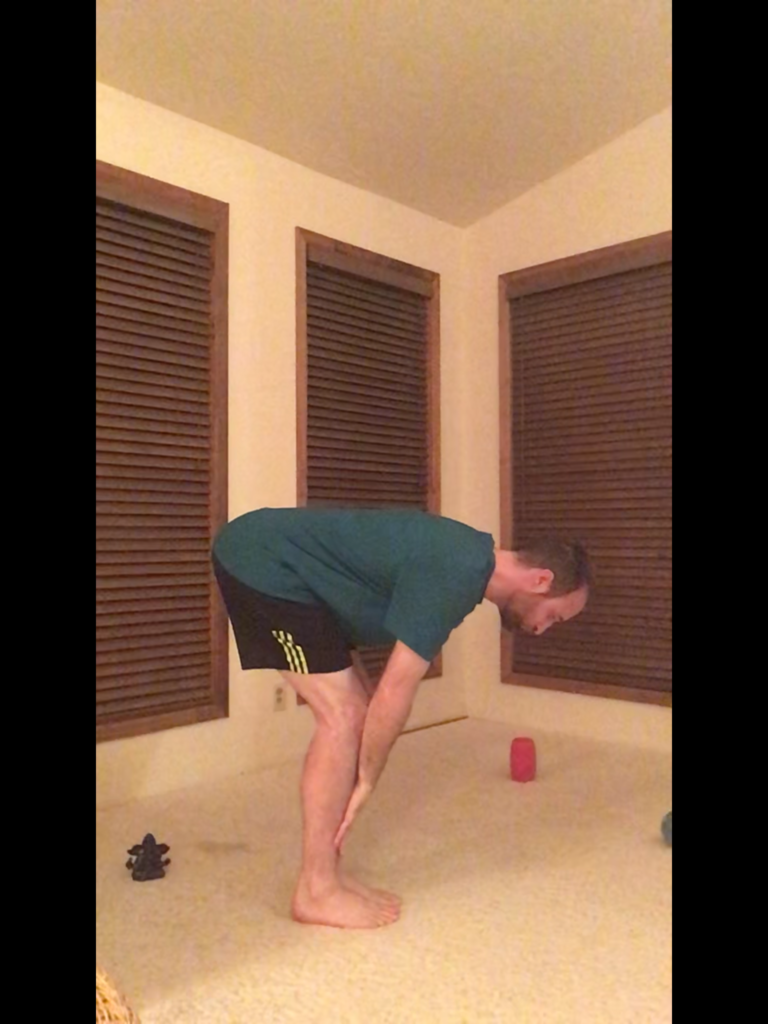
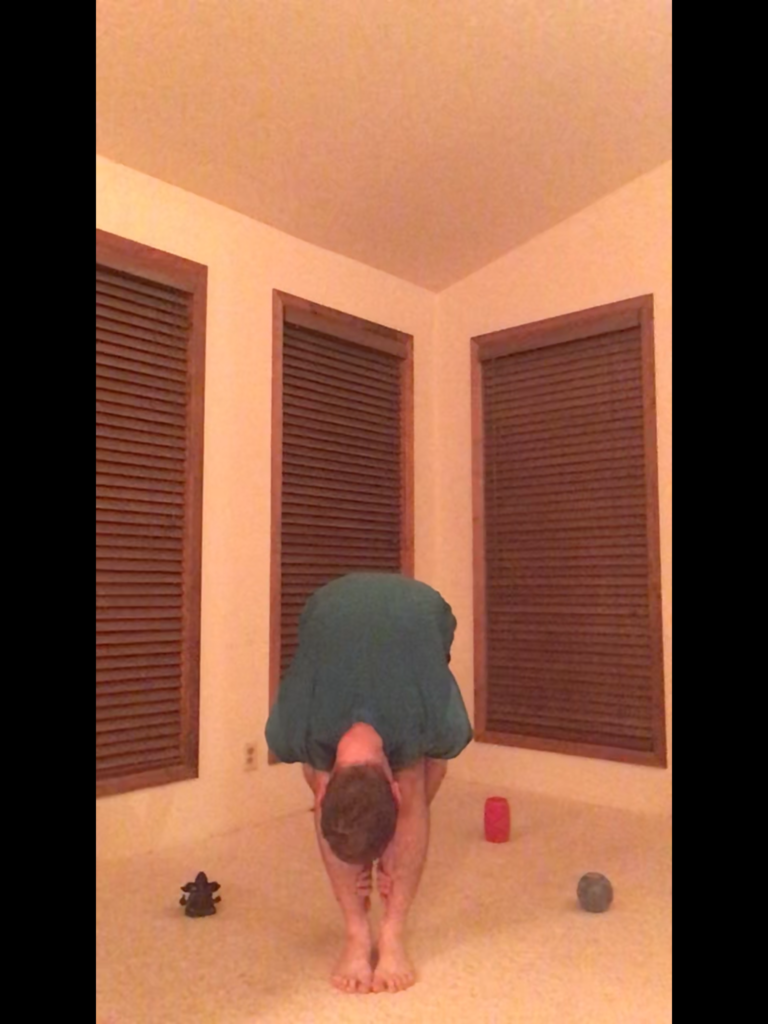
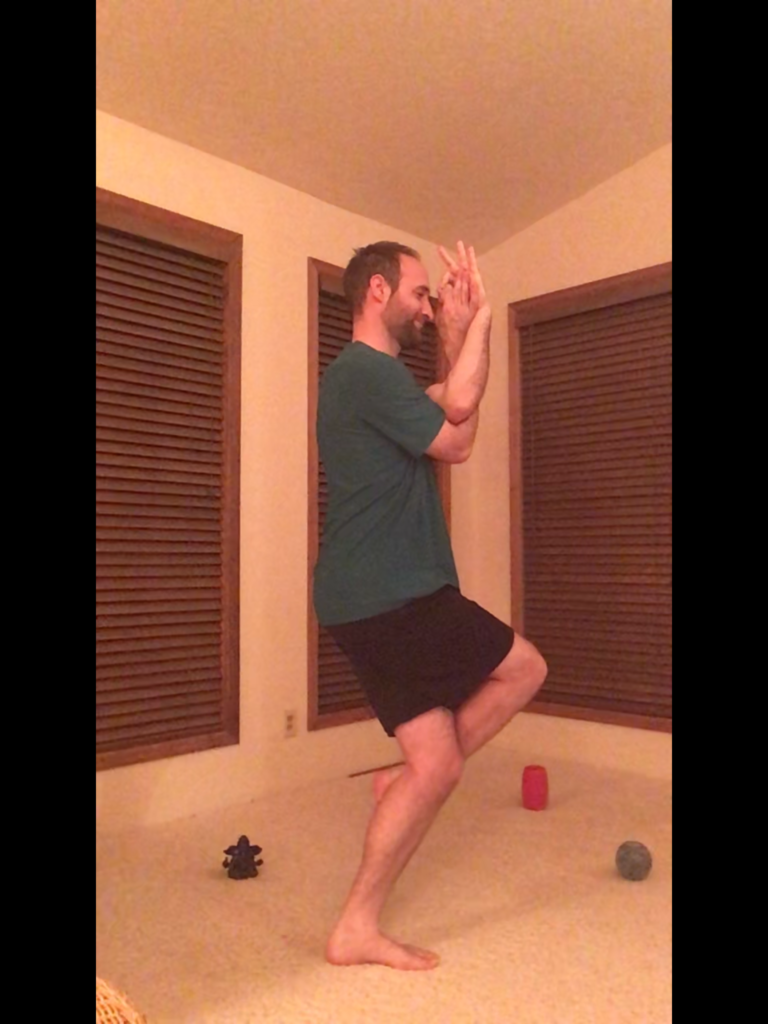
Pose Description:

  1. Starting from a standing position.
  2. Reach your arms overhead and clap your hands.
  3. With a slight gentle bend in your knees to release your toes.
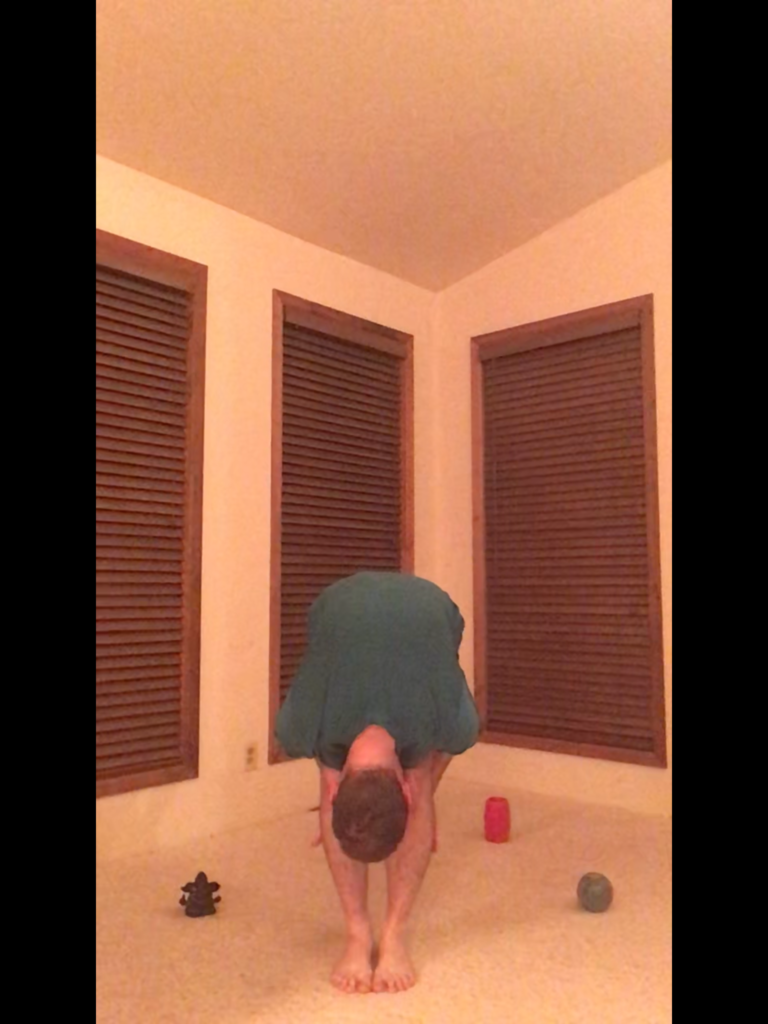
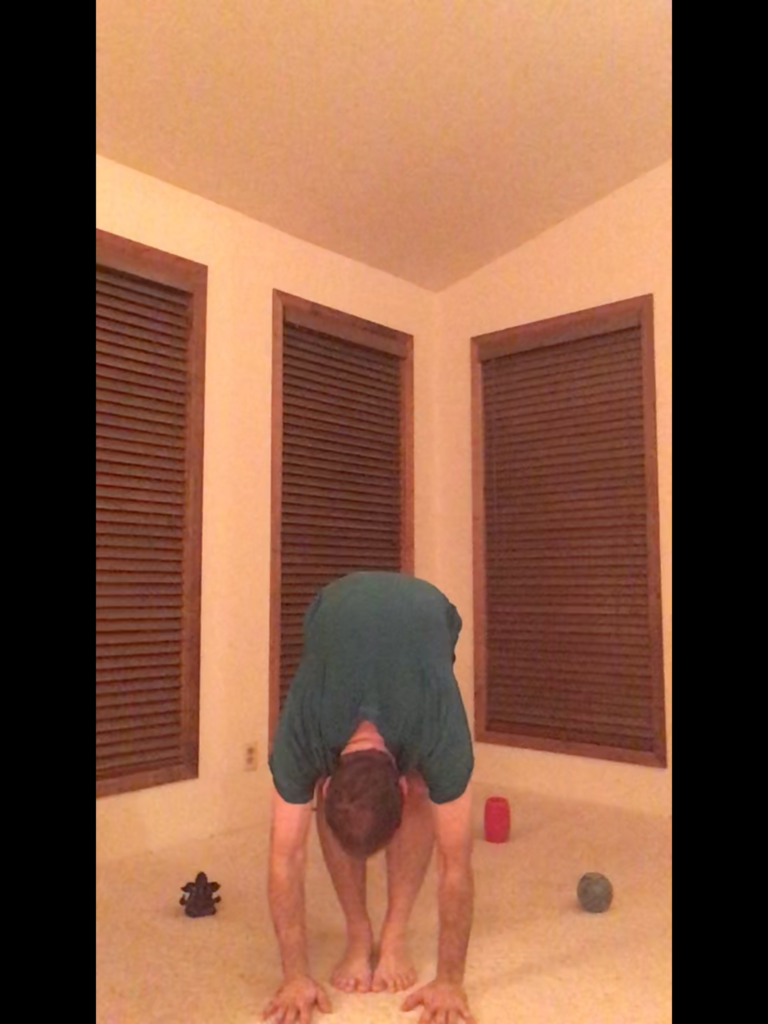
  4. Swing your right arm underneath your left arm at the elbow crease.
  5. Continue to wrap up your forearms to your hands.
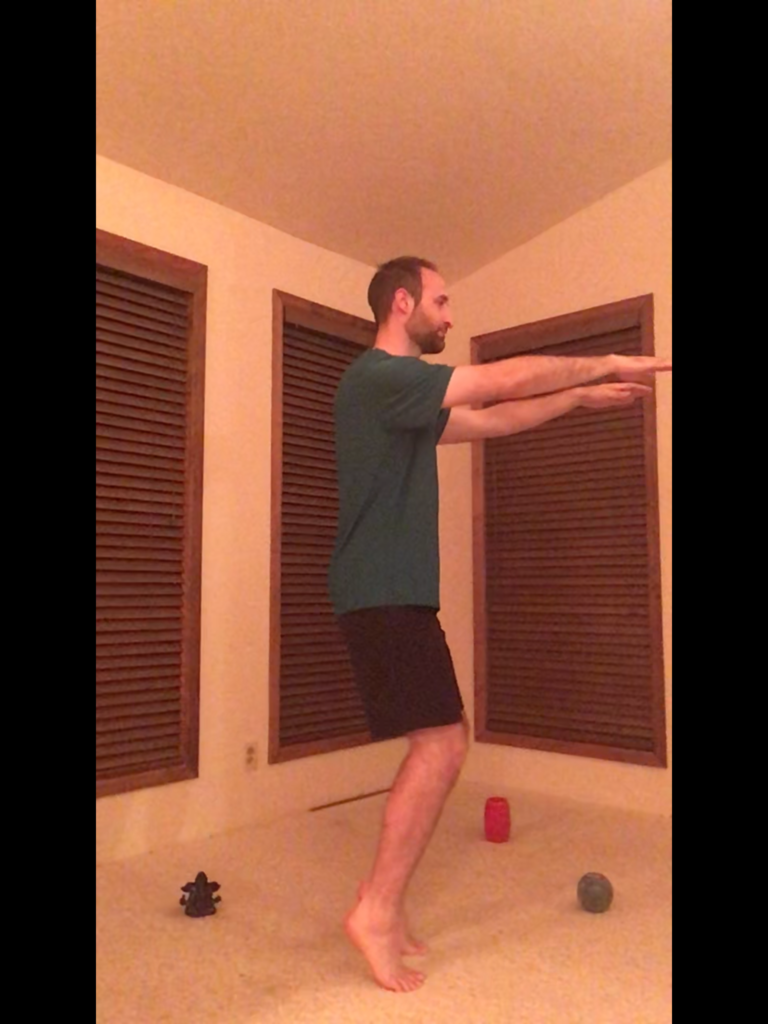
  6. Lengthen your fingers and widen your shoulders.
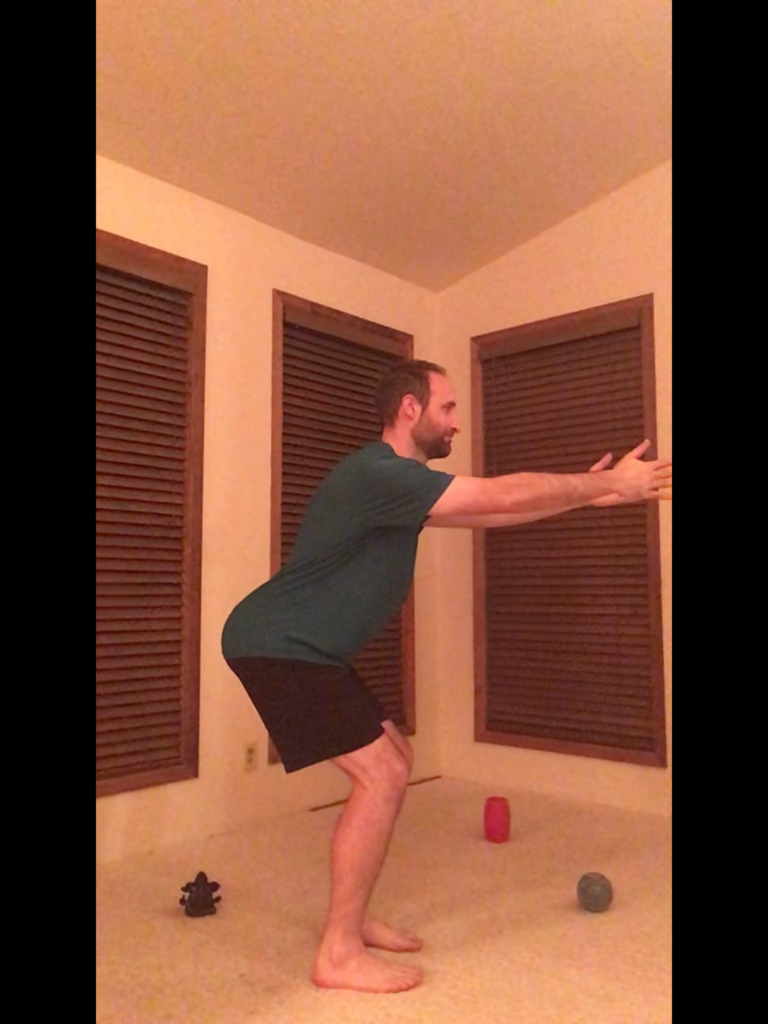
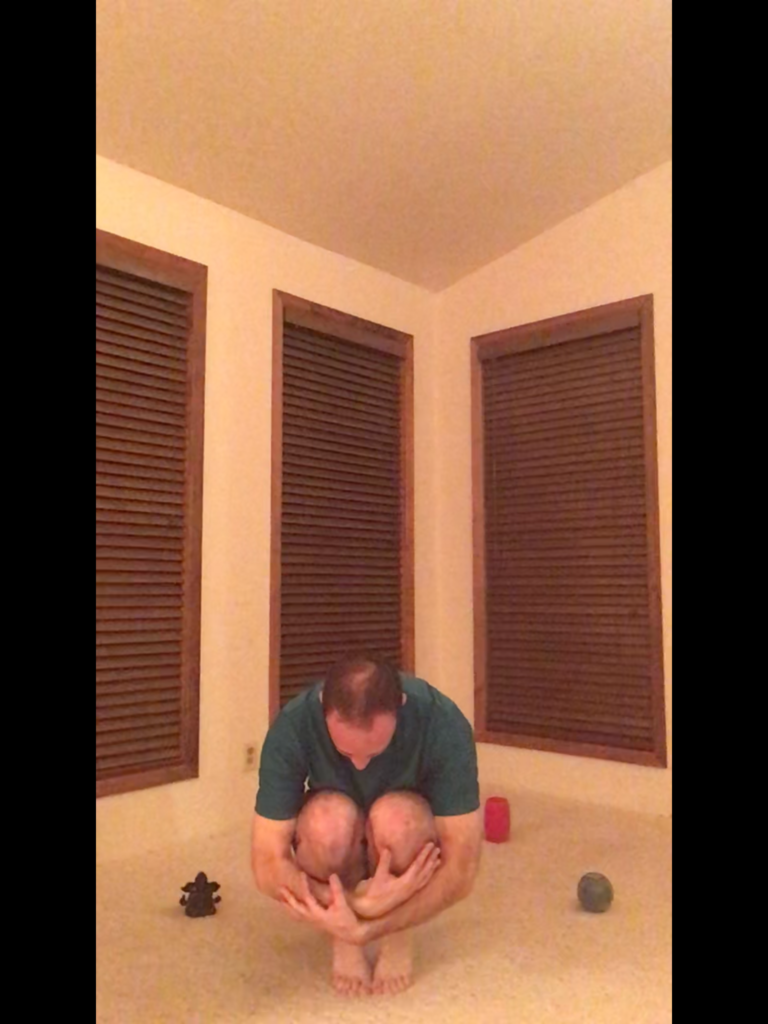
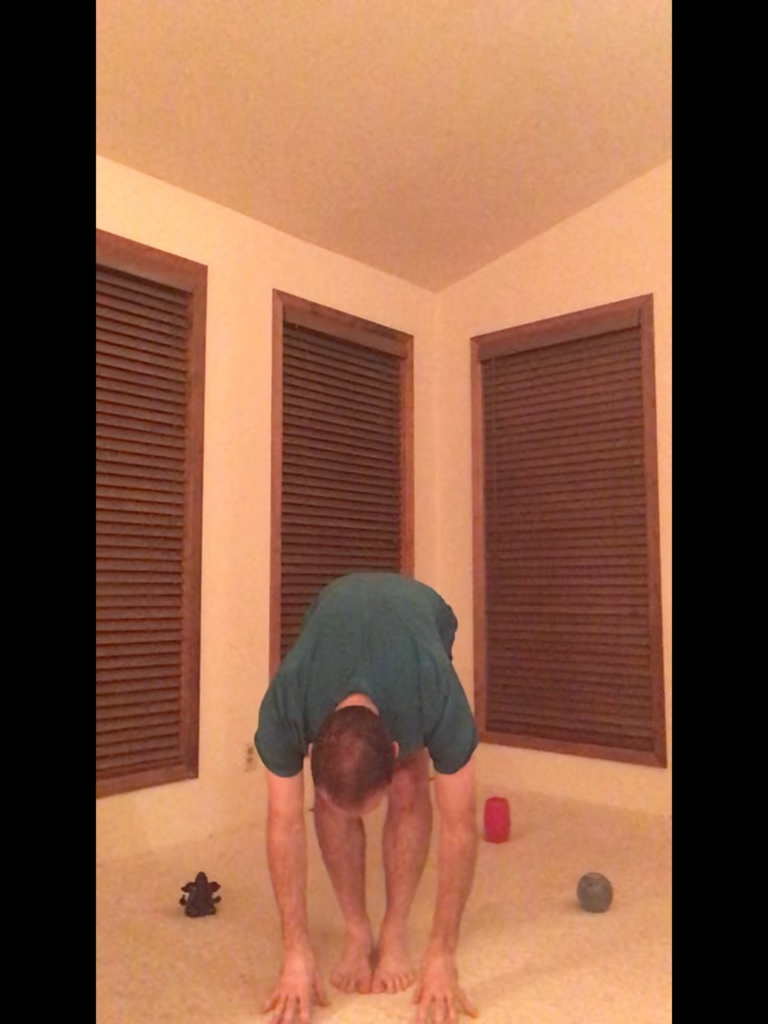
  7. Draw your shoulders down your back, sit back and down, and bend your left leg slowly.
  8. Root your left foot down firmly and steadily.
  9. Level your shoulders over your hips and maintain still in your body’s spine.
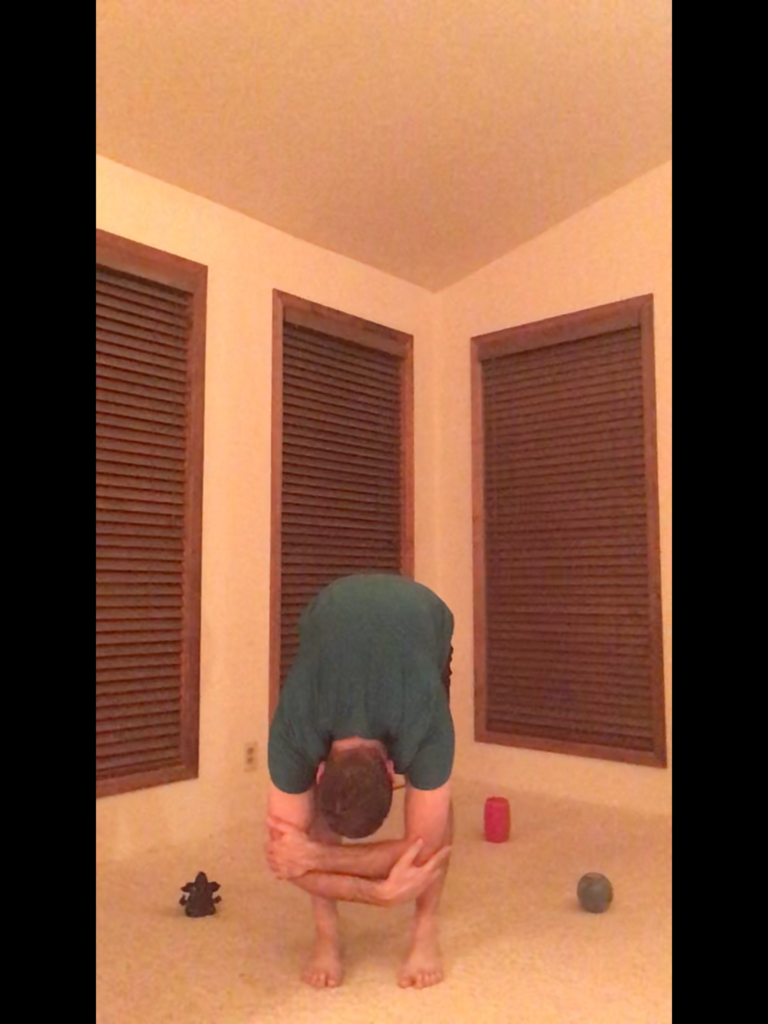
  10. Lift only your right leg and wrap your left thigh; continue to bind your ankle and foot.
  11. (Modify if needed, check modifications above.)
  12. Breathe here for 6 to 9 breaths. Sit deeper at your will.
  13. (To Exit) Unwrap your leg first, then swing your arms overhead to a clap.
  14. Begin again on your left side.

Relax, Rest, and Practice Again. You Can Do This! You Are A Yogi!

POWER CHAIR POSE

Benefits:

  • Strengthens your core, thighs, and ankles
  • Encourages a stronger spine
  • Focus on your body control

(DISCLAIMER: DO THESE POSES TO YOUR ABILITY; YOU ARE RESPONSIBLE FOR YOUR OWN BODY AND WHAT YOU DO. BE SAFE, AND YOU CAN BE SUCCESSFUL.)

Modifications:

  • Leave your hands praying at your chest for a shoulder injury.
  • Bend your knees less.
  • Keep your gaze at about 45 degrees.

Pose Description:

  1. Start from a forward fold position.
  2. Firmly root your soles down evenly on your mat. (Toes together or close to each other.)
  3. Keep bent knees and lightly engage thighs.
  4. Lift your arms over your head.
  5. Sit your glutes back to help stack your spine.
  6. Rotate your palms toward one another.
  7. Draw your shoulders down your back.
  8. Keep your core girdled and controlled.
  9. Lift your gaze level to the ground.

Relax, Rest, and Practice Again. You Can Do This! You Are A Yogi!

AWKWARD CHAIR POSE

Benefits:

For your body:

  • Strengthens your core engagement
  • Balances you from the core
  • Stretches and strengthens your ankle, feet, and arch

For your mind:

  • Connects your awareness from your feet to your core
  • Center your focus

For your spirit:

  • It makes you lighter and stronger
  • Invigorates confidence in oneself

(DISCLAIMER: DO THESE POSES TO YOUR ABILITY; YOU ARE RESPONSIBLE FOR YOUR OWN BODY AND WHAT YOU DO. BE SAFE, AND YOU CAN BE SUCCESSFUL.)

Modifications:

  • Use a block between your thighs to assist your abdominal engagement.
  • Place a block between your feet to stabilize a good distance to separate your feet.
  • Use a wall or chair or partner to help make it easier to balance.
(Face your palms inward to relieve your shoulders and neck.)

Pose Description:

(FIRST POSITION OF THREE)

  1. Start from a standing position.
  2. Toe-heel or heel-toe your feet about your hip-width distance apart.
  3. (Place your prop here) You can check with two fists between your big toes.
  4. Engage your transverse abdomen.
  5. Relax your toes long and softly to the ground.
  6. Root your soles down to the ground evenly.
  7. Be present with your legs and the stillness of your feet.
  8. Lift your hands in front of you to shoulder height.
  9. Face your palms towards each other and then down to the ground.
  10. Open your chest and keep your spine long and loose.
  11. Sit as far back as you can.
  12. Bend your knees and sit down slow and low.
  13. Gaze down and be sure you can see your toes.
  14. Reliving your growth from here.
  15. Gaze forward and visualize your spine and core connection.
  16. This is a great place to build your core muscles.

(SECOND POSITION OF THREE)

  1. Start from step 10. in position (1 of 3) above.
  2. Lift Your heels about 4 inches high.
  3. Suck in your lowest abdominal muscle to support your spine.
  4. Bend your knees slowly for confidence and to assist with the concentration of breath.
  5. Keep your heels high at about 3″ to 4″ high.
  6. Stay for a few breath cycles to increase your focus and strength.
  7. Slowly rise and lower your heels.
  8. Keep your arms up for part three.

(THIRD POSITION OF THREE)

  1. Start from the end of the position (2 of 3), step 8.
  2. Lift your toes and separate your feet enough to support your low back.
  3. (Use the short side of your block.) Or you can check with one fist between your big toes.
  4. Touch your knees together and lift your heels.
  5. Heels lift 3″ to 4″ high.
  6. Connect to your core and breath.
  7. Remain tall until you feel your balance inside.
  8. Slowly sit down and keep your spine tall with your shoulders stacked over your hips.
  9. Go as far as you are comfortable with to breathe.
  10. Take a few breath cycles here and then ride an inhale out of the pose.
  11. Release your arms and heels down.
  12. Reset your feet to a standing position.

Relax, Rest, and Practice Again. You Can Do This! You Are A Yogi!

RAGDOLL POSE

(Ragdoll Pose)

Benefits:

For your body:

  • It opens flexibility to your hips.
  • Stretches hamstrings
  • Stretches your low back

For your mind:

  • Focus your thought
  • Take on a different perspective
  • Releases your emotions

For your spirit:

  • It helps you release unnecessary baggage.
  • It teaches you how to let go.
  • It gives you the confidence to see things another way.

(DISCLAIMER: DO THESE POSES TO YOUR ABILITY; YOU ARE RESPONSIBLE FOR YOUR OWN BODY AND WHAT YOU DO. BE SAFE, AND YOU CAN BE SUCCESSFUL.)

Modifications:

  • Let your arms hang down to the floor.
  • Use two blocks to keep your balance.
  • Sway side to side.

Pose Description:

  1. Start from a forward fold position.
  2. Heel-toe or toe-heel your feet hip-width distance apart.
  3. Relax your toes length softly.
  4. Plant your soles down evenly.
  5. Bend your knees and relax your glutes.
  6. Hug your belly in and breathe.
  7. Drop your torso down between your legs.
  8. Release your arms weight to the floor.
  9. Bend your elbows and grab them with your opposite hands.
  10. Use your finger strength to pull your torso deeper.

Relax, Rest, and Practice Again. You Can Do This! You Are A Yogi!

GUERRILLA POSE

(Gorilla Pose)

Benefits:

For your body:

  • It opens your hip’s flexibility
  • Flushes the brain with fresh blood
  • Good for spinal release near your neck and shoulders

For your mind:

  • It gives you a hand-to-foot connection which can improve kinesthetic concentration
  • It clears out useless thinking.
  • It helps you focus your imagination inward toward your pelvis.

For your spirit:

  • It helps you overcome blocks you may place in front of your success
  • Connects your upper and lower halves and grounds you with the earth
  • It opens your backline to increase your heart’s ability for empathy and sympathy for others

(DISCLAIMER: DO THESE POSES TO YOUR OWN ABILITY; YOU ARE RESPONSIBLE FOR YOUR OWN BODY AND WHAT YOU DO. BE SAFE, AND YOU CAN BE SUCCESSFUL.)

Modifications:

  • Leave your hands on the floor or push against a couple of blocks.
  • Bend your knees more.
  • Stand with a chair in front of you or a step stool.
  • Go to a hands-to-feet pose.

Pose Description:

  1. From standing.
  2. Toe heel or heel-toe your feet out hip-width distance apart.
  3. (optional: Reach your arms overhead and swan dive or your own way Fold Forward.)
  4. Release and lift your toes, then plant your soles down evenly.
  5. Relax your glutes and bend your knees a little bit.
  6. Drop your torso between your thighs, and use the weight of your head. (Breathe, be comfortable.)
  7. Lift your right ball mound and slip your right hand to your wrist under your foot. (This stretches your wrist and elbow.)
  8. “Tickle” your wrists with your toes.
  9. Push your ball mound into your palm; your weight is forward a little, yet feel balanced.
  10. Slowly lift your left ball mound and slide your left hand underneath the front side.
  11. Lift a little weight from your heels, and place the weight in your hands.
  12. Pull your elbows out wide, engage your core lock, and lift your hips up.
  13. Open your chest and shoulders down your back.
  14. Relax the back of your neck and breathe comfortably a few times.
  15. Release slowly and mindfully, one hand at a time.
  16. Give yourself a challenge but confirm your depth to know not to over-strain or under-engage.

Relax, Rest, and Practice Again. You Can Do This! You Are A Yogi!

HANDS-TO-FEET POSE

(Hands to Feet Pose)

Benefits:

For your body:

  • Stretches your low back
  • It opens flexibility in your hips
  • Strengthens your Achilles

For your mind:

  • Supports your connection to muscles
  • Focus your breathing to slow down.
  • Can calm down the internal dialogue

For your spirit:

  • Reduces fear of the unknown
  • Increases your conviction in yourself
  • Allows kindness to spread throughout your Self-body and mind

(DISCLAIMER: DO THESE POSES TO YOUR OWN ABILITY; YOU ARE RESPONSIBLE FOR YOUR OWN BODY AND WHAT YOU DO. BE SAFE, AND YOU CAN BE SUCCESSFUL.)

Modifications:

  • Take A Ragdoll pose
  • Cup your calves with a grip to pull you down
  • Bend your knees more
  • Be gentle but grab your ankles like ropes to pull you down. (Only whats comfortable)

Pose Description:

  1. Starting in a forward fold position.
  2. With big toes touching root into your ball mounds evenly.
  3. Bend your knees to bring your belly and thighs together.
  4. Engage your core and relax your neck and jaw.
  5. Lift your right heel and slide your hand under from behind.
  6. Cup your heel with your palm and place your heel down.
  7. Lift your right heel and cup it.
  8. Gently allow your upper body to engage and pull you down.
  9. Slowly straighten your legs while you breathe.
  10. Lift your tail bone toward the ceiling.

Relax, Rest, and Practice Again. You Can Do This! You Are A Yogi!

BALL POSE

(Ball Pose)

Benefits:

For your body:

  • Stretches the spinal cord
  • It gives way to releasing tension from the jaw and throat
  • Relaxes the sinus muscle by giving it space at the front of the skull
  • Removes tense shoulders
  • Strengthens the plantar facia arch

For your mind:

  • Focus your equilibrium
  • Creates awareness of your eye muscles
  • Calms and centers you

For your spirit:

  • Ignites balance within oneself

(DISCLAIMER: DO THESE POSES TO YOUR OWN ABILITY; YOU ARE RESPONSIBLE FOR YOUR OWN BODY AND WHAT YOU DO. BE SAFE, AND YOU CAN BE SUCCESSFUL.)

Modifications:

  • Place 1 block in front of you horizontally and face down wide to support your balance.
  • Bend your knees only halfway to the full depth you imagine achieving.
  • Use the seat of a fold-out chair to control your balance into the descent into a ball pose.
  • Leave your hands lightly on the ground (fingertips or palms) to give you balance and control over how you bend your knees.
  • These are to support your joints.

Pose Description:

  1. Starting from a forward fold pose or halfway lift pose.
  2. From a forward fold pose
  3. Fan your toes and place even weight on the ball mounds of each foot.
  4. Lift your heels and place your spread-out fingertips on the floor.
  5. Bend your knees slowly, maintaining what you have down thus far on both feet.
  6. Plant your palms on the floor and feel your arms squeeze on your thighs.
  7. Mindfully “round” your upper body, neck, and head forward and softly gaze down to gain balance.
  8. Wrap one hand around your knee, keeping thighs engaged, and assist.
  9. Wrap your other hand around your knee, connecting your forearms firmly and comfortably.
  10. Breathe here evenly and try to close your eyes for five breaths.

Relax, Rest, and Practice Again. You Can Do This! You Are A Yogi!

HALF-WAY LIFT POSE

(Half-way Lift Pose)

Benefits:

For your body:

  • Strengthens your connection from your feet to your abdominal muscles
  • Engages Latissimus Dorsi
  • Stretches neck and overall spine
  • Stimulates even blood flow throughout your body

For your mind:

  • Centers your equilibrium
  • Conducts awareness of your core and inner-thigh relationship
  • It helps you observe your breath stretch your body
(Half-way Lift Pose)

For your spirit:

  • Stimulates courage and confidence within oneself
  • Encourages intrepid outlook on what’s possible
  • Concentrate your inner strength from the ground up on a level playing field

I

I

I

I

I

(DISCLAIMER: DO THESE POSES TO YOUR OWN ABILITY; YOU ARE RESPONSIBLE FOR YOUR OWN BODY AND WHAT YOU DO. BE SAFE, AND YOU CAN BE SUCCESSFUL.)

Modifications:

  • Utilize Two blocks you can place your hands onto to stabilize your balance until stronger.
  • Place a chair before you to use the seat to hold your balance.
  • Put your hands on your thighs to assist low back injuries or knee injuries.

Pose Description:

  1. Starting in a forward-fold pose.
  2. Press the soles of your feet evenly into your mat to stimulate alignment.
  3. Lengthen your spine slowly.
  4. Plant your palms on your shins and extend your arms.
  5. Engage your thighs.
  6. Contract your core.
  7. Widen your shoulders.
  8. Relax your neck and softly gaze down.
  9. Breathe here for a few cycles and learn from how your muscle engagements feel; make it better for yourself.

Relax, Rest, and Practice Again. You Can Do This! You Are A Yogi!

FORWARD FOLD POSE

(Foreward Fold Pose)

Benefits:

For your body:

  • The brain receives new blood flow
  • The brain receives more oxygen
  • Stretches your lower back and hamstrings

For your mind:

  • It gets you into a new perspective.
  • Clears your mind to refresh your thought process
  • Releases emotions you may be resisting

For your Spirit:

  • It teaches you to let go of resistance in yourself.
  • It opens up your flexibility within
  • If you are down, you can get back up.

(DISCLAIMER: DO THESE POSES TO YOUR OWN ABILITY; YOU ARE RESPONSIBLE FOR YOUR OWN BODY AND WHAT YOU DO. BE SAFE, AND YOU CAN BE SUCCESSFUL.)

Modifications:

  • Take Ragdoll Pose, separate your feet hip-width wide, fold forward, grab your elbows, and gently pull your elbows down.
  • Bend your knees a little more.
  • Use a chair or wall or safety bar, or blocks to assist your balance.
  • Remember, flexibility will come through practice and the strength you gain to focus intentionally.

Pose Description:

  1. Start by standing up, place your hands at your heart, or reach your hands overhead.
  2. With your big toes together or separate slightly.
  3. Release your toes, and slightly bend your knees.
  4. Relax your gluteus maximus, contract your core, and hinge your hips slowly.
  5. Fold forward to touch the ground.
  6. Keep your lumbar spine length with abdominal contraction on the way down.
  7. Flaten your palms’ on the floor with thumbs outside your pinky toes.
  8. Take a breath to lengthen more into your fold.
  9. Remove tension from your neck by gently releasing it to gravity.
  10. Pull yourself down and connect your belly to your thighs. (Push your palms down, or Cup your calves.)
  11. As slow as your breath, straighten your legs at the same pace. (Do not force, allow.)
  12. Establish a connection to every muscle in your body, from your toes to your hands and everything in between.
  13. Be here for a few breaths, your choice of how many.
  14. Important! Exit slowly.
  15. (option a Half-way Lift Pose here)

Relax, Rest, and Practice Again. You Can Do This! You Are A Yogi!